A SIEM On the Cheap - Using Sqlite for Data Analysis
Introduction
When doing investigations, its quite common to need to read large amounts of data, usually contained in CSV Files. While there are many solutions out there for reading these files, the more I have used SIEM’s for searching, the more i have found myself craving a SQL Approach to analysing this data.
While SQLite is not the most powerful language for running these queries, it can be helpful to quickly sort down large amounts of data into something more useable.
Using this approach, we can potentially perform some forms of data transformation where there is an available datatype. Additionally, many DFIR Practitioners will already have DB Browser for SQLite or Sqlite installed in their analysis environment, as it is often used for common forensics artifacts like internet history
Pre-Requisites
- Sqlite installed for either windows, or in WSL
- DB Browser for SQLite
Conversion from CSV to SQLITE
Opening SQLite
Open Sqlite with the following commands:
| Value | Operating System |
|---|---|
sqlite3.exe <Filename>.sqlite |
Windows |
sqlite <filename>.sqlite |
Linux |
Importing your CSV File
Take note of the full path for your sql file, you will need this one to import the file
From there use the following commands:
.mode csv
.import '<Full Path Name>' <TableName>
One imported exit using CTRL+Z and <Enter> for windows, and CTRL+D and <ENTER> for Linux

Opening your SQLITE File
Now that you have a sqlite file, open DB Browser for SQLite and select OpenDatabase, then select the newly created sqlite file.
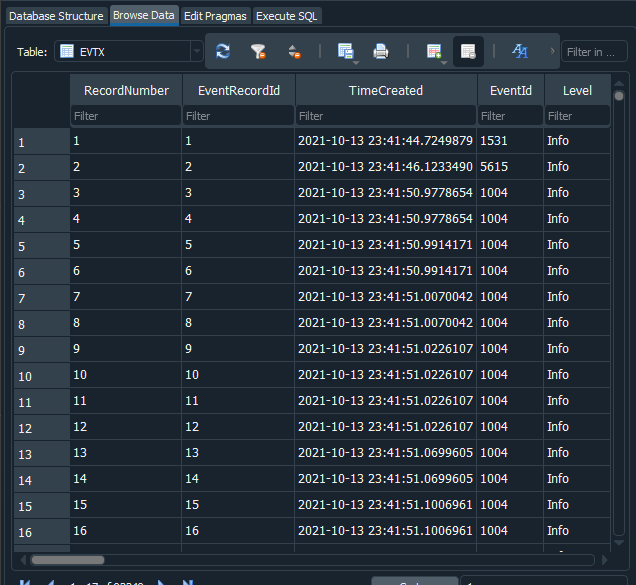
From here, you can use the Browse Data tab to view the structure of the data
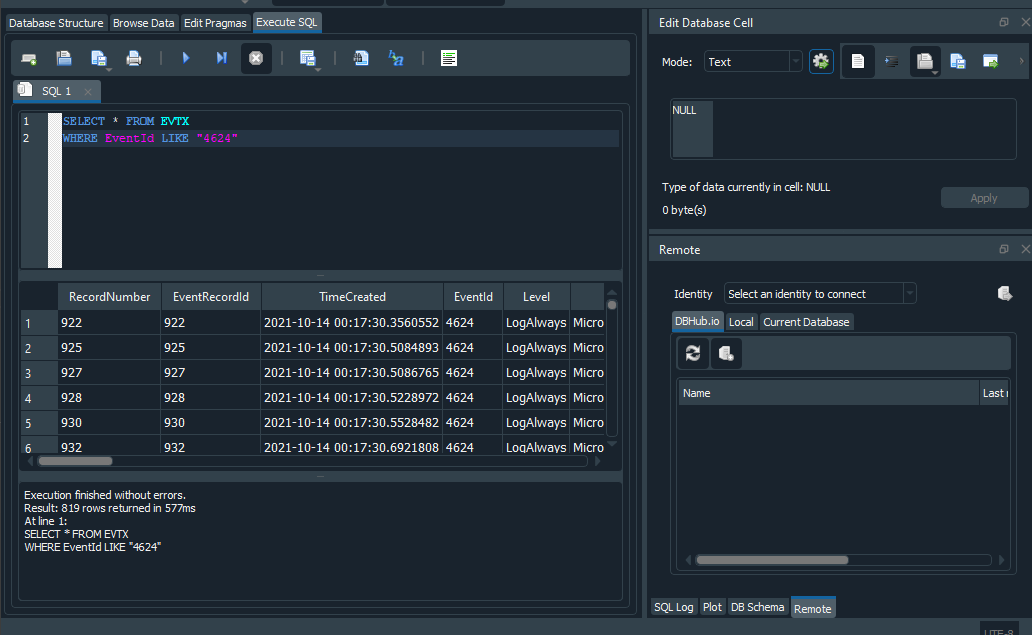
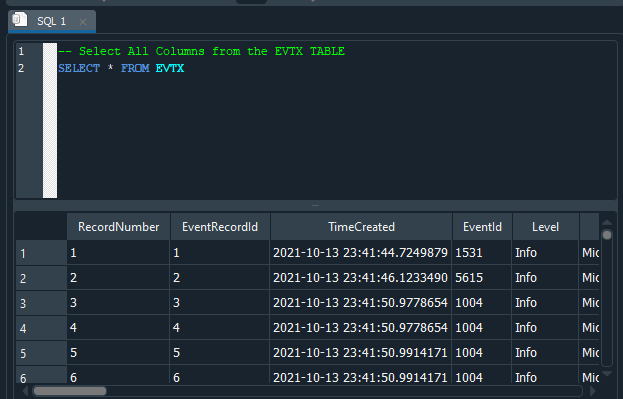
Or, you can use the Execute SQL tab to execute more advanced commands
Performing Analysis
My approach to using BDBrowser for SQLite is I use the Browse Data tab to view the columns, from there I move to the Execute SQL tab to do more advanced queries.
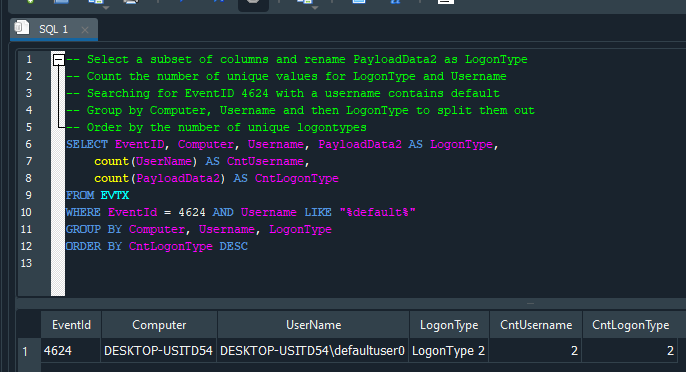
Below are some small examples of the types of analysis we can do, as well as an explanation of basic SQL structure
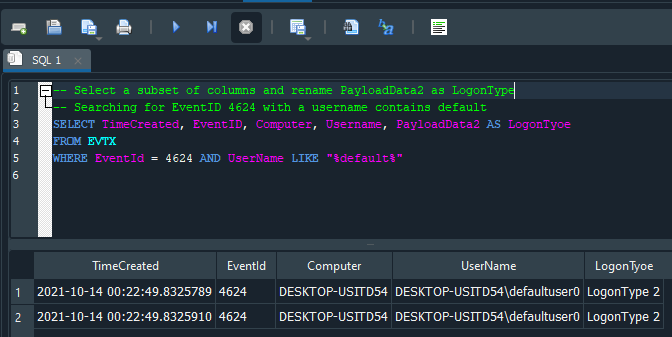
SELECT <Column Name> FROM <TABLE> - * selects all columns, or you can specify the column names, the table name is as set when importing the table
WHERE <Column Name> <Conditon> <Search Syntax> - A condition to match on or search for, As CSV defaults to a datatype of strings, we can use the LIKE condition to search for text with % used as a wildcard. Multiple LIKE values can be used with IN ("A","B","C") as the
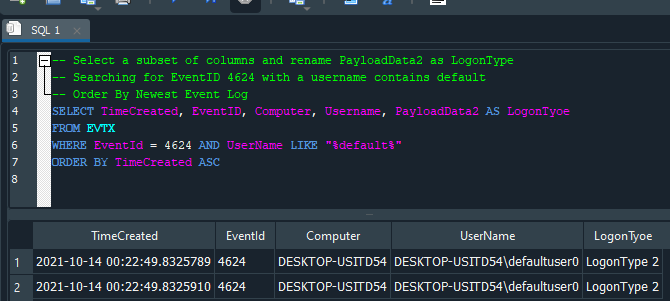
ORDER BY <Column Name> <ASC/DESC> - Useful for sorting timestamps by ascending or descending Value
Group By <Column Name> - Groups by one or more colum names, will group on unique values, more useful when using a function like count